Getting Started with CiviCRM
July 24, 2017
July 24, 2017

This is the first of many posts to come that will be tagged CiviCRM . I'm going to follow the setup process documented by NOVA Web Developer, Douglas Cerna, and see how it goes. With any luck I'll be able to begin exploring CiviCRM and further explore modifications to the setup. As an important example, I can see that these instructions use MySQL as the database. Since the work we will be doing almost immediately will involve geographic data and information, we will want a spatial database, and the clear choice there is PostGIS. We will have to determine how to escape from this quandary, but for now, I just want to get CiviCRM running.
Procedure
I'll begin by creating a KVM instance with Ubuntu 16.04 Server and install CiviCRM using Douglas's recipe.
Used an Ubuntu 16.04 server install image and selected only standard system utilities and OpenSSH server from the Software selection screen.
I then ran:
$ sudo apt install mysql-server libapache2-mod-php php-curl \
  php-mbstring php-xml php-gd phpmyadmin
setting New password for the MySQL "root" user: to civicrm, selecting apache2 as the web server to configure for phpmyadmin, and selecting Yes to the question, Configure database for phpmyadmin with dbconfig-common?. I set the password to phpmyadmin as civicrm here also.
Next step is to login to MySQL as root with the command, $ mysql -u root -p, and then at the mysql prompt, run:
mysql> CREATE USER 'drupalsite'@'localhost' IDENTIFIED BY 'drupalsite';
mysql> CREATE DATABASE drupalsite;
mysql> GRANT all ON drupalsite.* TO 'drupalsite'@'localhost';
mysql> CREATE USER 'civicrm'@'localhost' IDENTIFIED BY 'civicrm';
mysql> CREATE DATABASE civicrm;
mysql> GRANT all ON civicrm.* TO 'civicrm'@'localhost';
mysql> exit
After exiting, I logged back in to MySQL with $ mysql -u drupalsite -p and typed drupalsite when prompted for a password. I'm still not clear where that was set, but it worked. I also tried $ mysql -u civicrm -p and logged in with password civicrm, and that worked too.
Install Drupal:
$ wget https://ftp.drupal.org/files/projects/drupal-7.56.tar.gz
$ tar -xzf drupal-7.56.tar.gz
$ sudo mv /var/www/html/index.html /var/www/html/index.html.bak
$ sudo mv drupal-7.56/* /var/www/html/
$ rm -rf drupal-7.56*
$ sudo cp /var/www/html/sites/default/default.settings.php \
  /var/www/html/sites/default/settings.php
$ sudo chmod 644 /var/www/html/sites/default/settings.php
$ sudo mkdir /var/www/html/sites/default/files
$ sudo chown -R www-data.www-data /var/www/html/sites/default
$ sudo service apache2 restart
Setup Drupal. When I pointed my host machine's web browser at the IP address of the VM, I was presented with this:

Douglas pointed me to this page for more information on the process. Leaving Standard selected and clicking Save and continue brought me to:
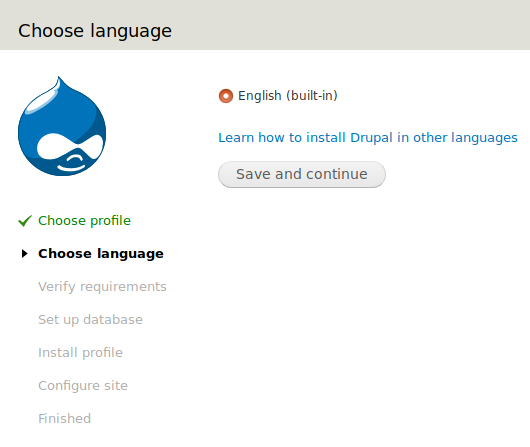
Clicking Save and continue again led to:
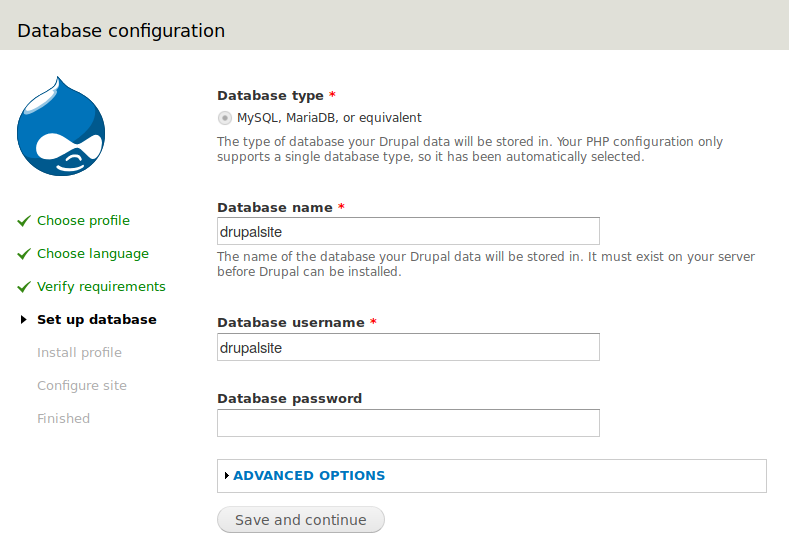
After filling in drupalsite for Database name, Database username and Database password, I waited for a few minutes for the installation process to proceed and then saw this screen:

I filled in the fields as shown in the screenshot, with password set to drupalsite. After that, I was happy to see the following:
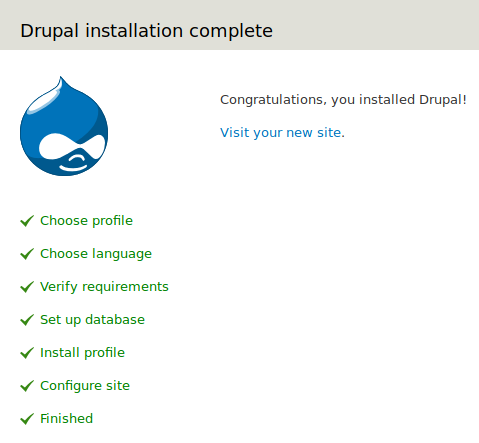
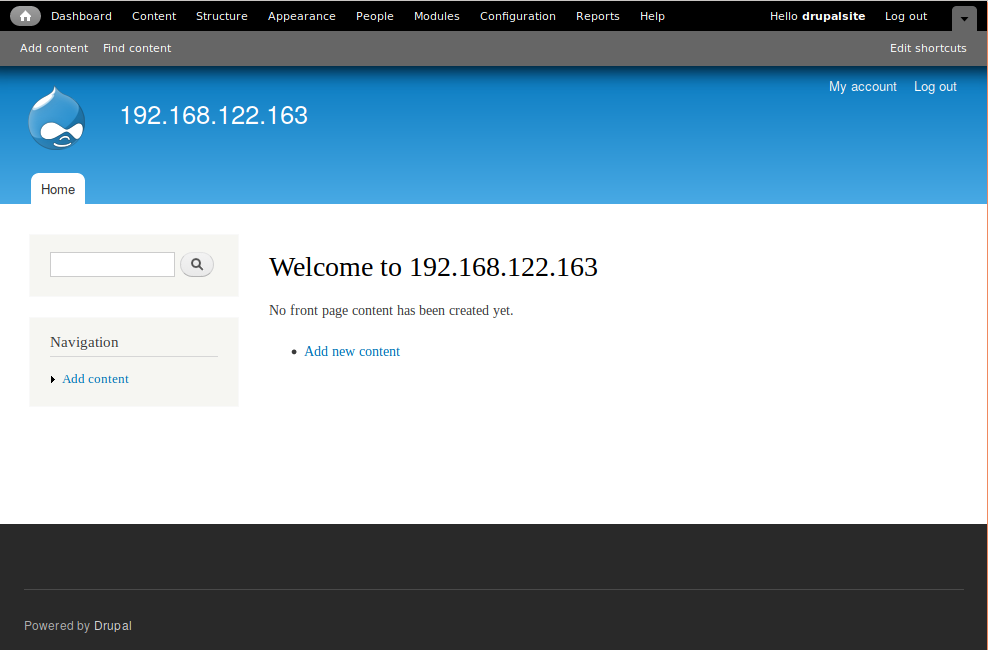
Clicking the Visit your new site link brings up:
Next step is to login to MySQL as root with the command, $ mysql -u root -p, and then at the mysql prompt, run:
mysql> CREATE USER 'drupalsite'@'localhost' IDENTIFIED BY 'drupalsite';
mysql> CREATE DATABASE drupalsite;
mysql> GRANT all ON drupalsite.* TO 'drupalsite'@'localhost';
mysql> CREATE USER 'civicrm'@'localhost' IDENTIFIED BY 'civicrm';
mysql> CREATE DATABASE civicrm;
mysql> GRANT all ON civicrm.* TO 'civicrm'@'localhost';
mysql> exit
After exiting, I logged back in to MySQL with $ mysql -u drupalsite -p and typed drupalsite when prompted for a password. I'm still not clear where that was set, but it worked. I also tried $ mysql -u civicrm -p and logged in with password civicrm, and that worked too.
Install Drupal:
$ wget https://ftp.drupal.org/files/projects/drupal-7.56.tar.gz
$ tar -xzf drupal-7.56.tar.gz
$ sudo mv /var/www/html/index.html /var/www/html/index.html.bak
$ sudo mv drupal-7.56/* /var/www/html/
$ rm -rf drupal-7.56*
$ sudo cp /var/www/html/sites/default/default.settings.php \
  /var/www/html/sites/default/settings.php
$ sudo chmod 644 /var/www/html/sites/default/settings.php
$ sudo mkdir /var/www/html/sites/default/files
$ sudo chown -R www-data.www-data /var/www/html/sites/default
$ sudo service apache2 restart
Install CiviCRM:
$ wget https://download.civicrm.org/civicrm-4.7.20-drupal.tar.gz
$ tar -xzf civicrm-4.7.20-drupal.tar.gz
$ sudo mv civicrm /var/www/html/sites/all/modules
$ rm civicrm-4.7.20-drupal.tar.gz
$ sudo chown -R www-data.www-data /var/www/html/*
$ sudo chmod 755 /var/www/html/sites/default
Pointing my host machine's browser at http://192.168.122.163/sites/all/modules/civicrm/install/index.php revealed:
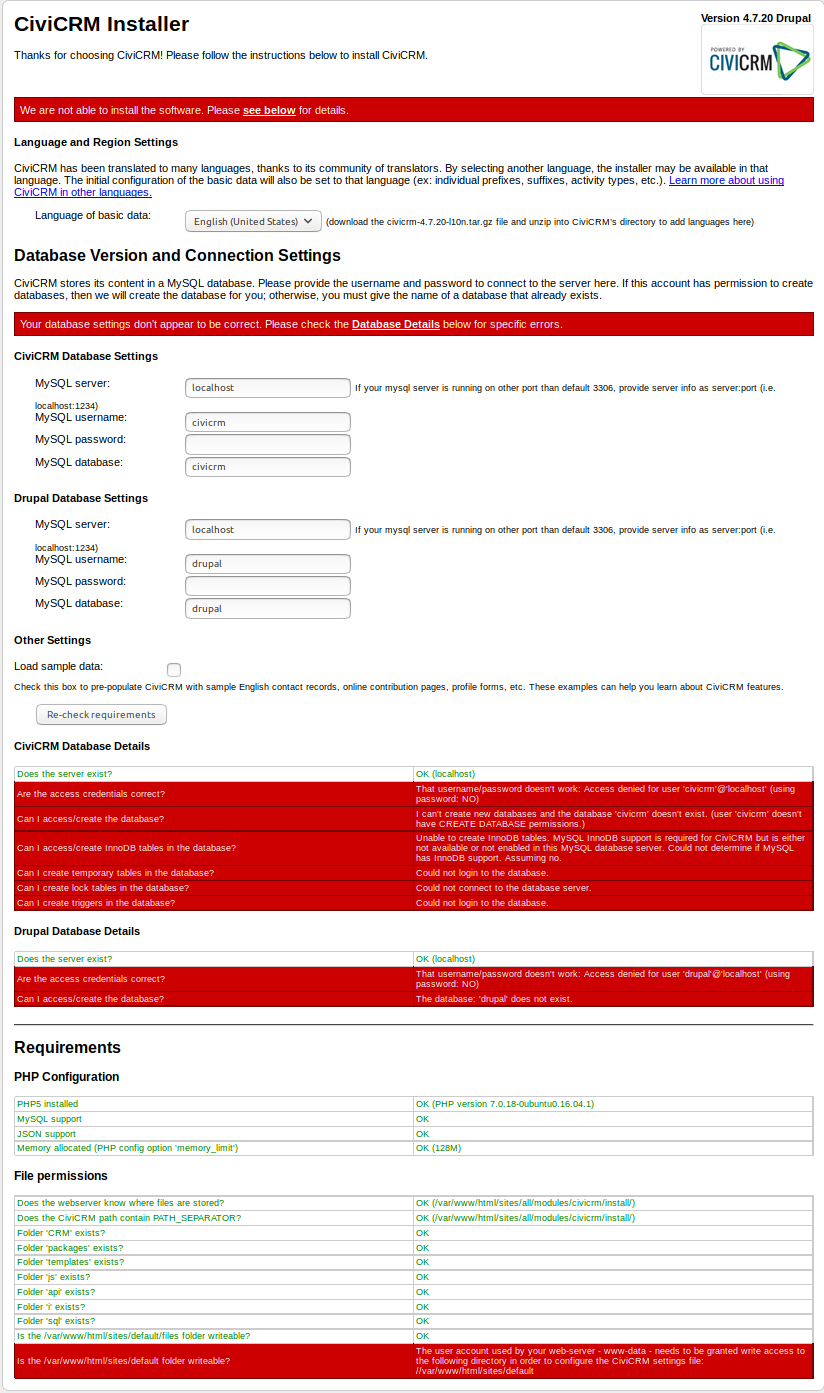
Filling in civicrm as the MySQL password under the CiviCRM Database Settings, and drupalsite for username, password, and database under Drupal Database Settings, I then checked the Load sample data box and clicked the Re-check requirements button.
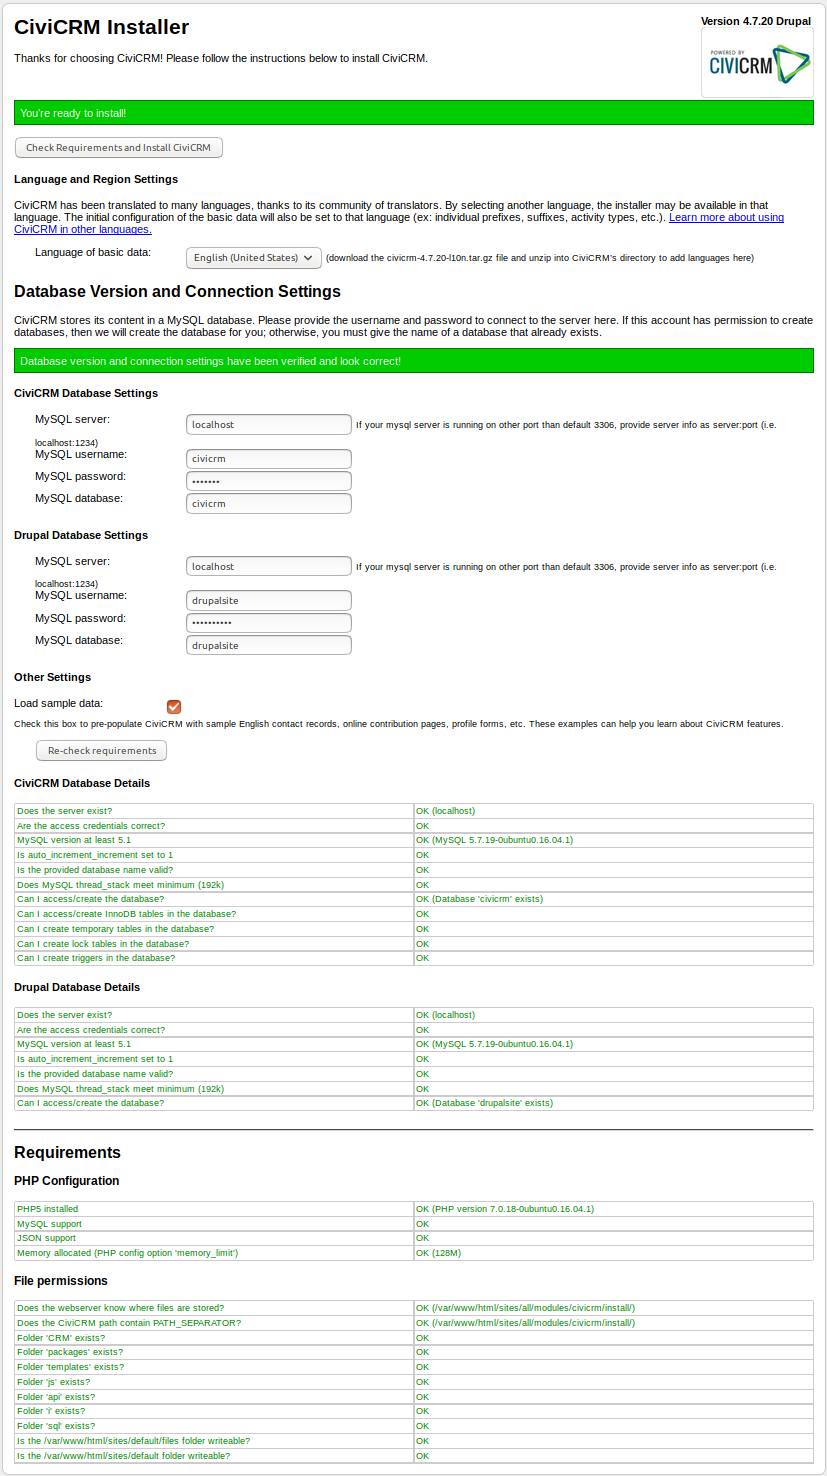
With all green to proceed, I clicked the Re-check requirements and install button, waited for a good while, and saw:
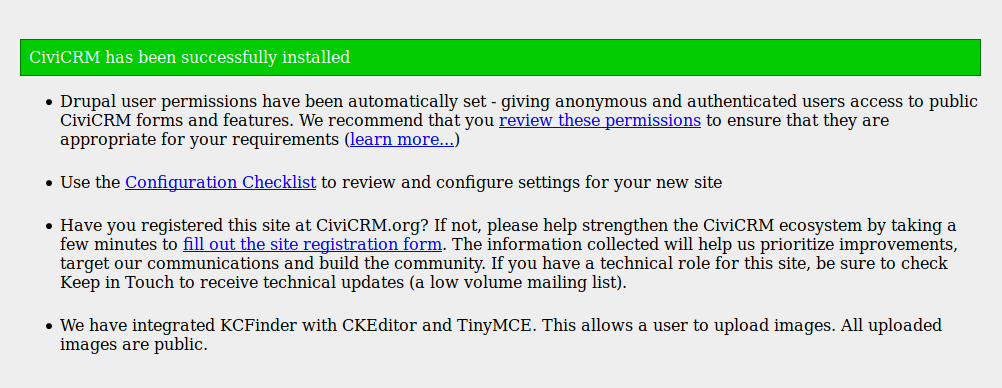
With CiviCRM now successfully installed, my next challenge will be to start learning how to use it.